
As a beginner in studio photography I wallowed in self pity of the fact that I had only one light and portraits needed was at least three and I could not afford any. Then I was gently reminded of the working motto of SANIsoft. “Argue for your limitations and sure enough they are yours”*
I started experimenting and sure enough I found that a single light could give very dramatic results.
Here are some pointers to what I learned in my journey to achieving single light magic.
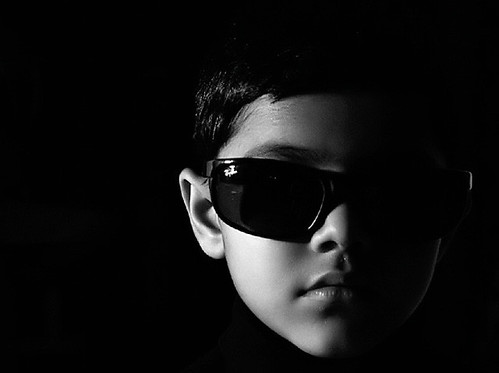
- Your light source need not be expensive. This portrait of Aasim was taken using INR80/- table lamp

The basic lighting layout is as shown above, things to note here are
- If you have single light you have to ensure that it is as widely diffused as possible so a large softbox or an umbrella is a must.
- The main light is almost 90 degrees to the camera
- You can use an optional reflector which is at an angle
When you have got the basic setup done you have to keep a couple of more things in mind

- Think minimalistic and incorporate a lot of negative space
- A black backdrop works the best
There are some variations that you can try
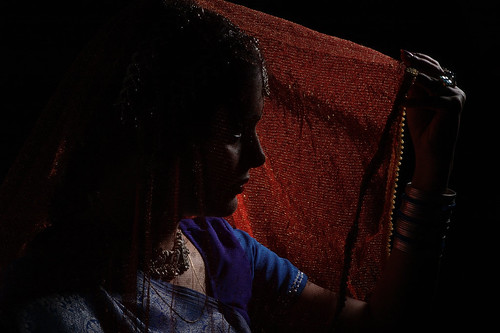
- Use the the single light to backlight the subject
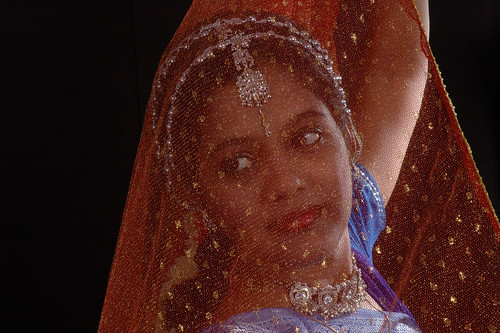
- If the light is wide enough you get effects like the above


- Try single light outside the studio
- https://www.flickr.com/photos/tariquesani/tags/singlelight/
After my first shoot with a single light I realized that it is much easier to deal with a single light source. In fact even today I start out with a single light and then fill in the parts which need more. About the only negative point I have to say against a single light setup is that it is very difficult to get the hair highlights on the opposite side, you can try reflecting but it never turns out as impressive as a dedicated hair light.
Lastly, this by no means is a complete HOWTO for single light or even all the tips and tricks you can manage but it is a start – do post a comment about your favorite single technique….
See also:
*Quote by Richard Bach
Pingback: Using hair light – A mini HowTo at Tarique's Travails()
Pingback: simple lighting guides - Page 2()